• Skip to primary navigation
  • Skip to main content
  • Skip to primary sidebar

The Beard And The Baker

Midwest Food, Family, + Fun

  • Home
  • About Us
  • Recipes
    • Appetizers
    • Breakfast
    • Desserts
    • Dinner Time
    • Drinks
    • Side Dishes
  • Lifestyle
    • Eating & Drinking
    • Family Friendly
    • Shopping
  • Family Travel
    • East Coast
    • West Coast
    • Midwest
    • The South
  • Privacy Policy
  • Press
Home Β» Road Trip Honey Chex Snack Mix

Road Trip Honey Chex Snack Mix

July 30, 2017 by Hannah Lewis Leave a Comment

52 shares
  • Share
  • Tweet

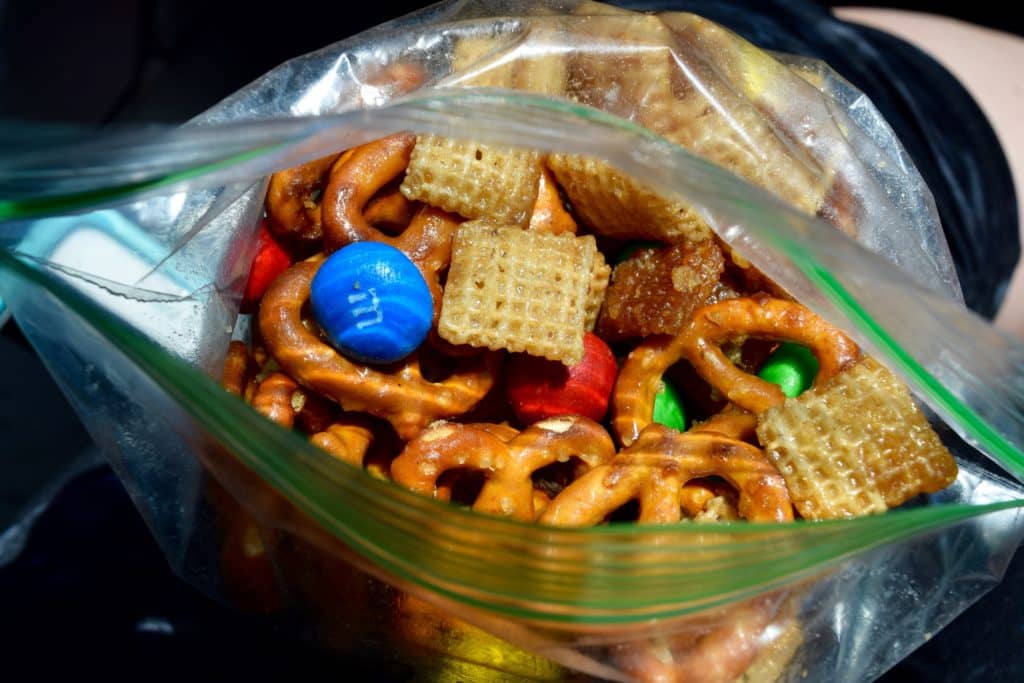
I feel like everyone has their own traditions when it comes to road trips. Maybe it’s games, music, how many times you stop (or don’t), or something else super fun. My only road trip tradition is that I must have snacks. Usually, that means finding the best fast food or gas station snacks and not caring how many calories are in it. But, in honor of our first long long long car ride from Columbus to the Outer Banks with a baby, I decided to make my own yummy road trip snack! 
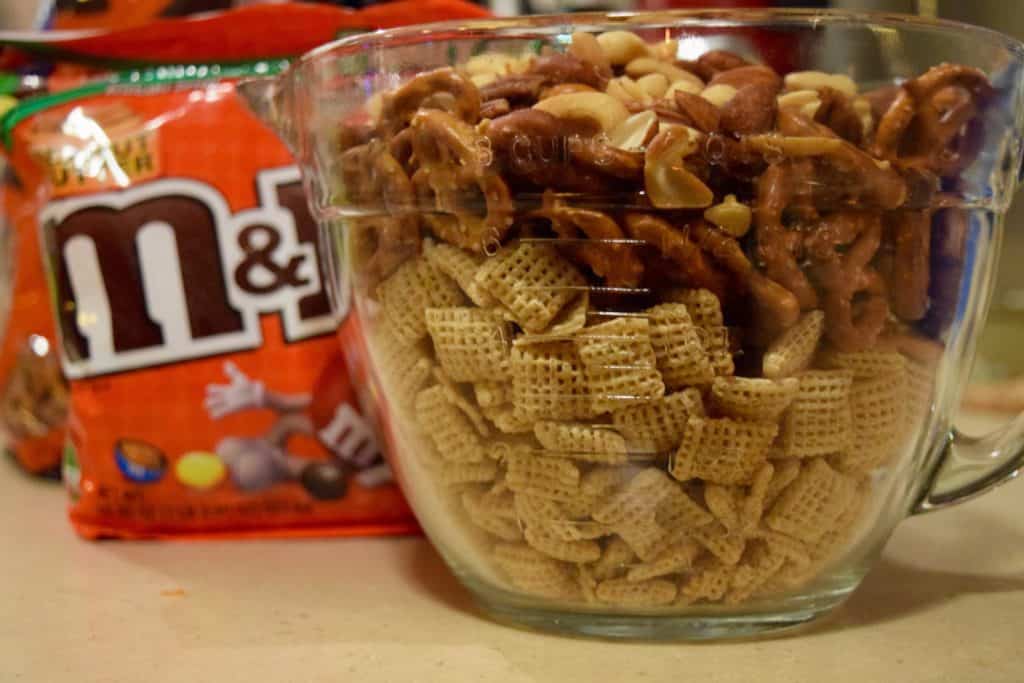
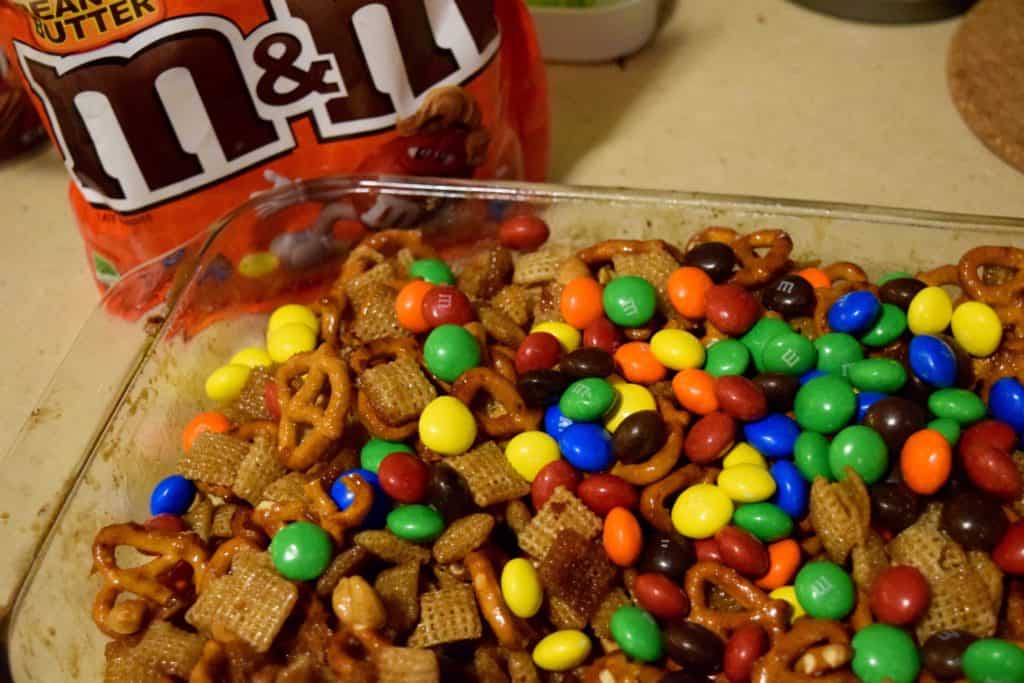
Just because I’m not writing about my favorite fast food place, doesn’t mean this road trip snack is healthy by any means. But, you know what, that’s my tradition and I don’t even care. The nice thing about this mix is that you can switch up some of the ingredients to suit whatever you or your family likes best. I’m quite the fan of peanut butter m&m’s so those were definitely making an appearance. But, if you like chocolate chips or snocaps or another bite size candy, add it in!  

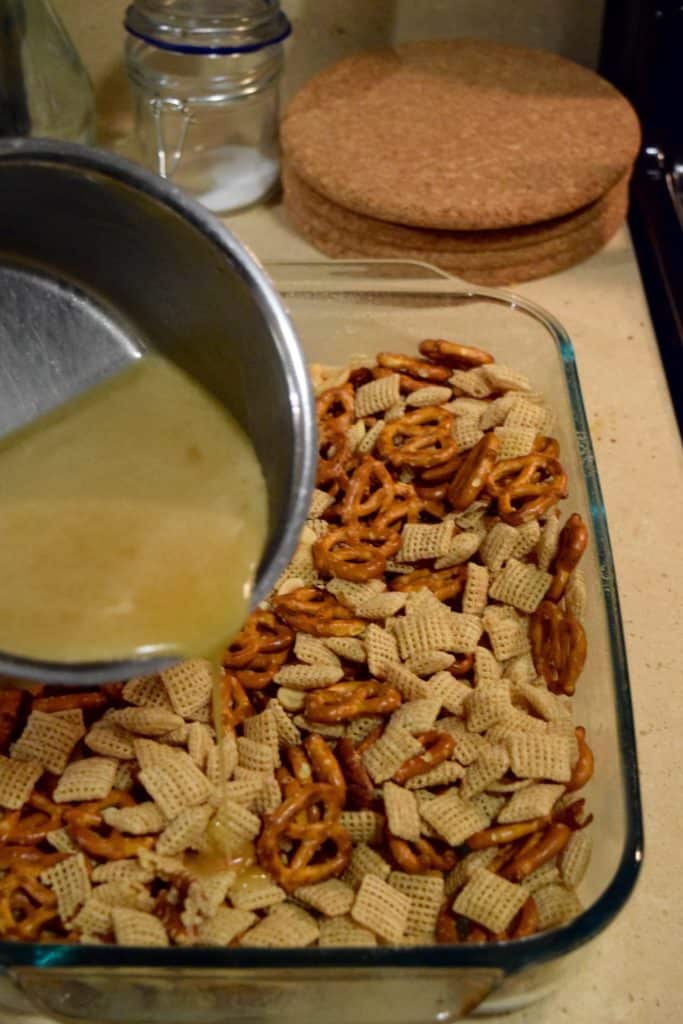
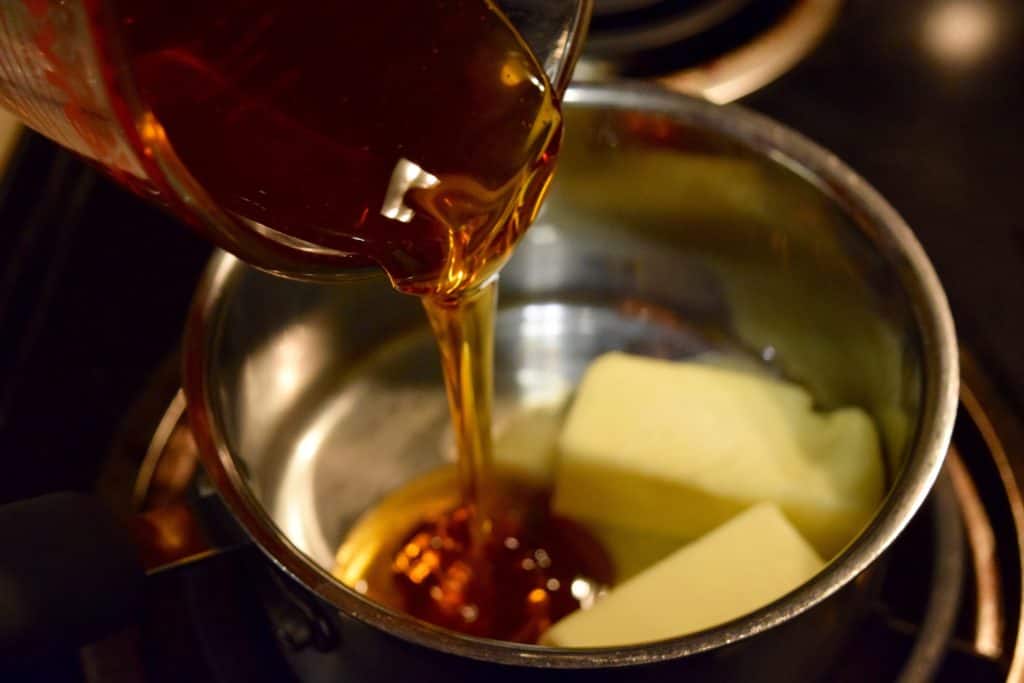
My piece of advice about eating this on the road is to make sure you have something to rinse off your hands when you are finished. I mean look at all that honey going in there! It definitely gets less sticky as it combines with the butter, but it can still be a bit messy and you don’t want gross hands while waiting for the nearest rest stop in the mountains of West Virginia. 

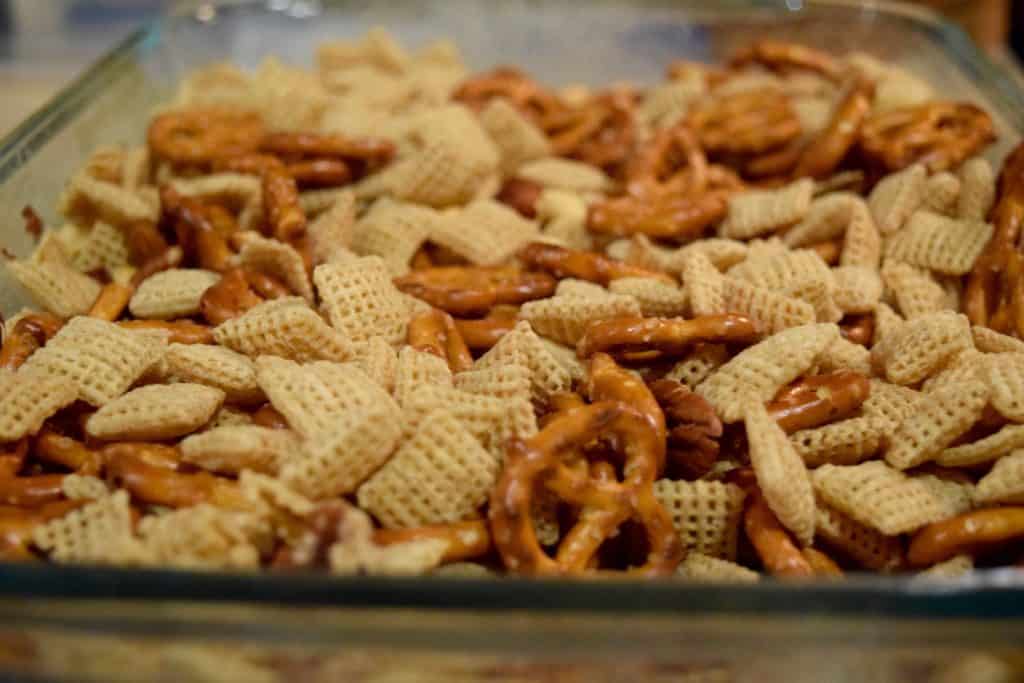
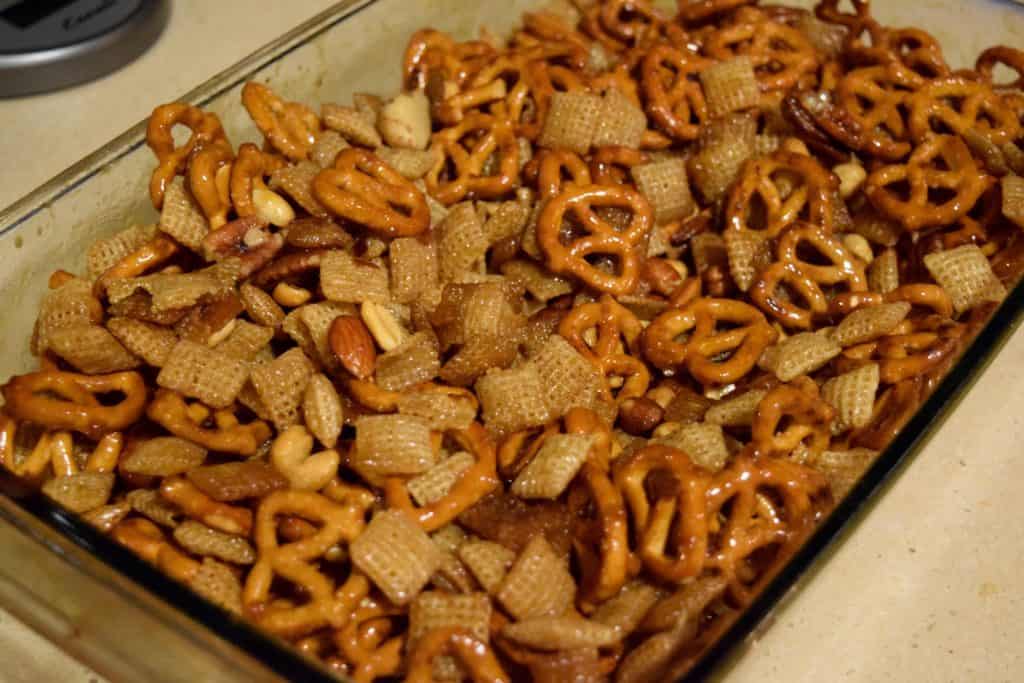
I used a glass baking pan to pour my mixture and let it cool, which is fine. But, in retrospect, I would have put some parchment paper down first because it did stick a little when it dried. You could also use a sheet pan, but again put something down so when it dries, it’s not super stuck to the container. 

You need to make sure you mix, mix, and mix again to make sure it’s fully coated and combined. There would be nothing worse than grabbing a handful and half of them are just boring ol’ chex and pretzels. Lame. Very important. Do not put the peanut butter m&m’s (or anything meltable) in until after you take it out of the oven. Otherwise, you’ll have quite the mess on your hands and no yummy snacks for your road trip. I feel that I rarely make something that everyone in my family enjoys. There are a lot of us, so there is bound to be someone who doesn’t like a texture or flavor or whatever. This was destroyed by my entire family, which is quite the compliment in my eyes. If you want to get extra cute for your road trip, you can even make everyone their own baggie labeled and filled with honey nut goodness. 
Road Trip Snack Mix
2017-07-30 18:03:22
Serves 4
A yummy, crunchy, honey flavored goodness perfect for your family road trip!
Write a review
Save Recipe
Print
Prep Time
5 min
Cook Time
15 min
Total Time
20 min
Prep Time
5 min
Cook Time
15 min
Total Time
20 min
Ingredients
  1. 4 cups Chex
  2. 2 cups pretzels
  3. 1 cup nuts
  4. 2-3 cups peanut butter m&m's
  5. 1/2 cup butter (1 stick)
  6. 1/2 cup honey
Instructions
  1. Preheat oven to 350 degrees F.
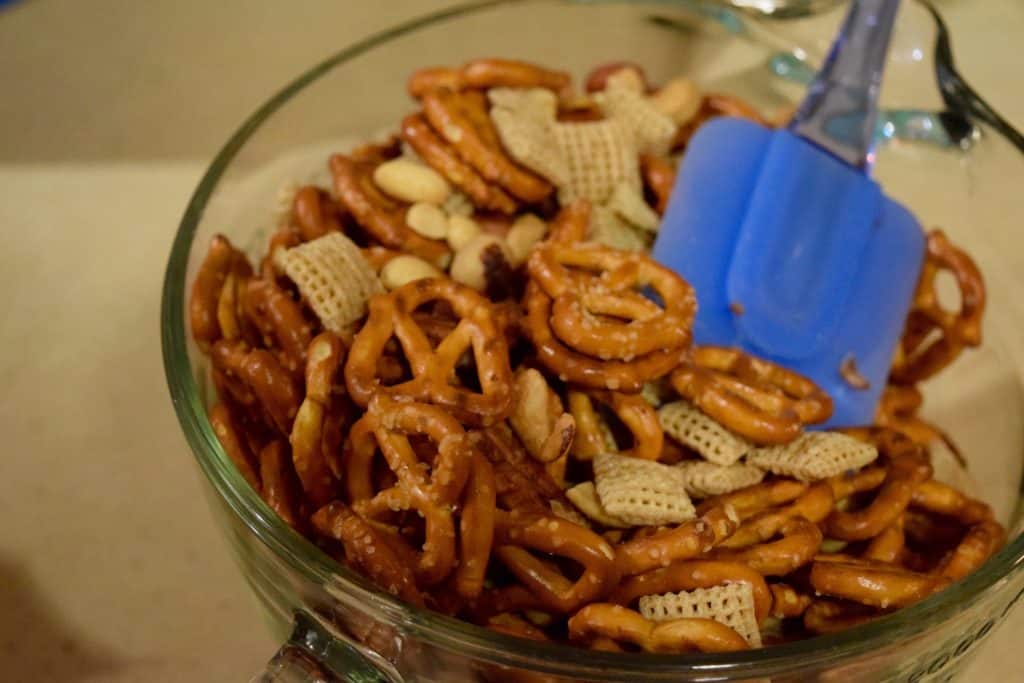
  2. Mix chex, pretzels and nuts in a large bowl.
  3. Put parchment paper in 9x13 glass baking pan. Pour chex mixture in it.
  4. Melt butter and honey together in a saucepan over medium heat until completely melted.
  5. Pour honey mixture over chex mixture. Combine and mix several times to make sure it's fully coated.
  6. Bake in oven for 13-15 minutes. Remove from oven and let cool slightly.
  7. Add peanut butter m&m's and stir to combine. Let cool completely. Fill in bags and enjoy on your family road trip!
Notes
  1. Will stay good in baggies for up to 4 days after you make it.
By Hannah Lewis
The Beard And The Baker https://www.thebeardandthebaker.com/

Share this:

  • Pinterest

Filed Under: Eating & Drinking, The South

Previous Post: « Baby O Turns One: Part One!
Next Post: La Hacienda de San Angel in Epcot »

Reader Interactions

We'd Love To Hear Your Thoughts on This Recipe!Cancel reply

Primary Sidebar

a little bit organic, a little bit golden arches. love local but love Target. πŸ‘ΆπŸ»πŸ‘§πŸ»πŸ‘¨πŸ»πŸ‘©πŸ» sharing food, family, and fun in columbus, ohio and beyond.

Affiliate Link Disclosure

The Beard and The Baker is a participant in the Amazon Services LLC Associates Program, an affiliate advertising program designed to provide a means for sites to earn advertising fees by advertising and linking to Amazon.com. Blog posts and recipes may contain affiliate links.

Copyright © 2025 · Foodie Pro & The Genesis Framework

52 shares